1
zerowaste
1271 readers
6 users here now
Discussing ways to reduce waste and build community!
Celebrate thrift as a virtue, talk about creative ways to make do, or show off how you reused something!
founded 2 years ago
MODERATORS
2
3
4
5
6
7
8

100% wool dryer balls are growing in popularity to the point where I have even seen them at my local dollar store, and for good reason. They can save you money in laundry costs.
If you are someone who uses dryer sheets, these wool balls are a great alternative that removes static from your clothes and can decrease drying time by around 30-50%. So, you save money by not having to buy dryer sheets, as well as on electricity. All you do is toss them into the dryer with your clothes!
"Per Toner, “Dryer balls excel in reducing drying time due to their ability to create space between clothes. This separation facilitates better air circulation, leading to faster drying and potential energy savings.” | bobvila
I have had mine for many many years now, and they are still in great shape. When or if they do ever break down to the point of being unable to use, the wool is biodegradable.
Just make sure that what you buy is 100% wool. If you are crafty (and have access to wool) you can also make your own fairly easily.

9
2
The art of recycling/repurposing broken-up concrete (sometimes apparently called 'urbanite')
(slrpnk.net)
I stumbled onto this article while working on a photobash of a solarpunk scene. I think it does a good job of explaining the concept but there seems to be something wrong with its certificates, which might throw an error in your web browser. https://nwedible.com/urbanite-broken-concrete-retaining-wall-as-a-garden-feature/
Just in case you don't want to check the link I'm also going to plagiarize a few quotes and images from the article:

"The marketing term for “old chunks of broken up concrete” is urbanite. Urbanite has a lot going for it: it’s durable and heavy like natural stone, reusing this product in garden and landscape design takes it out of the waste stream, it’s often a uniform thickness which makes it easy to stack or lay as a permeable patio surface, it’s often available in most urban locations, and it’s frequently free for the hauling. Free is good.
Drawbacks to urbanite can include potential contamination – this is more of an concern if your urbanite comes from a torn out commercial parking lot where all manner of auto fluids may have seeped into it than from the neighbor’s pool deck tear-out. Concrete itself can contain additives that might pose a health or contamination risk, although my feeling is that old, weathered concrete has probably already leached the worst of itself out somewhere else.
I probably wouldn’t use urbanite to build edible garden beds, but I can see great potential for turning this waste product in retaining walls, steps, and patio areas."


And a few examples of recycled concrete patios:


This last one came from https://www.terranovalandscaping.com/90/, which has a few other examples, including raised beds, so perhaps they knew their source of concrete was clean, or weren't worried about the potential for contanimation?

10
11
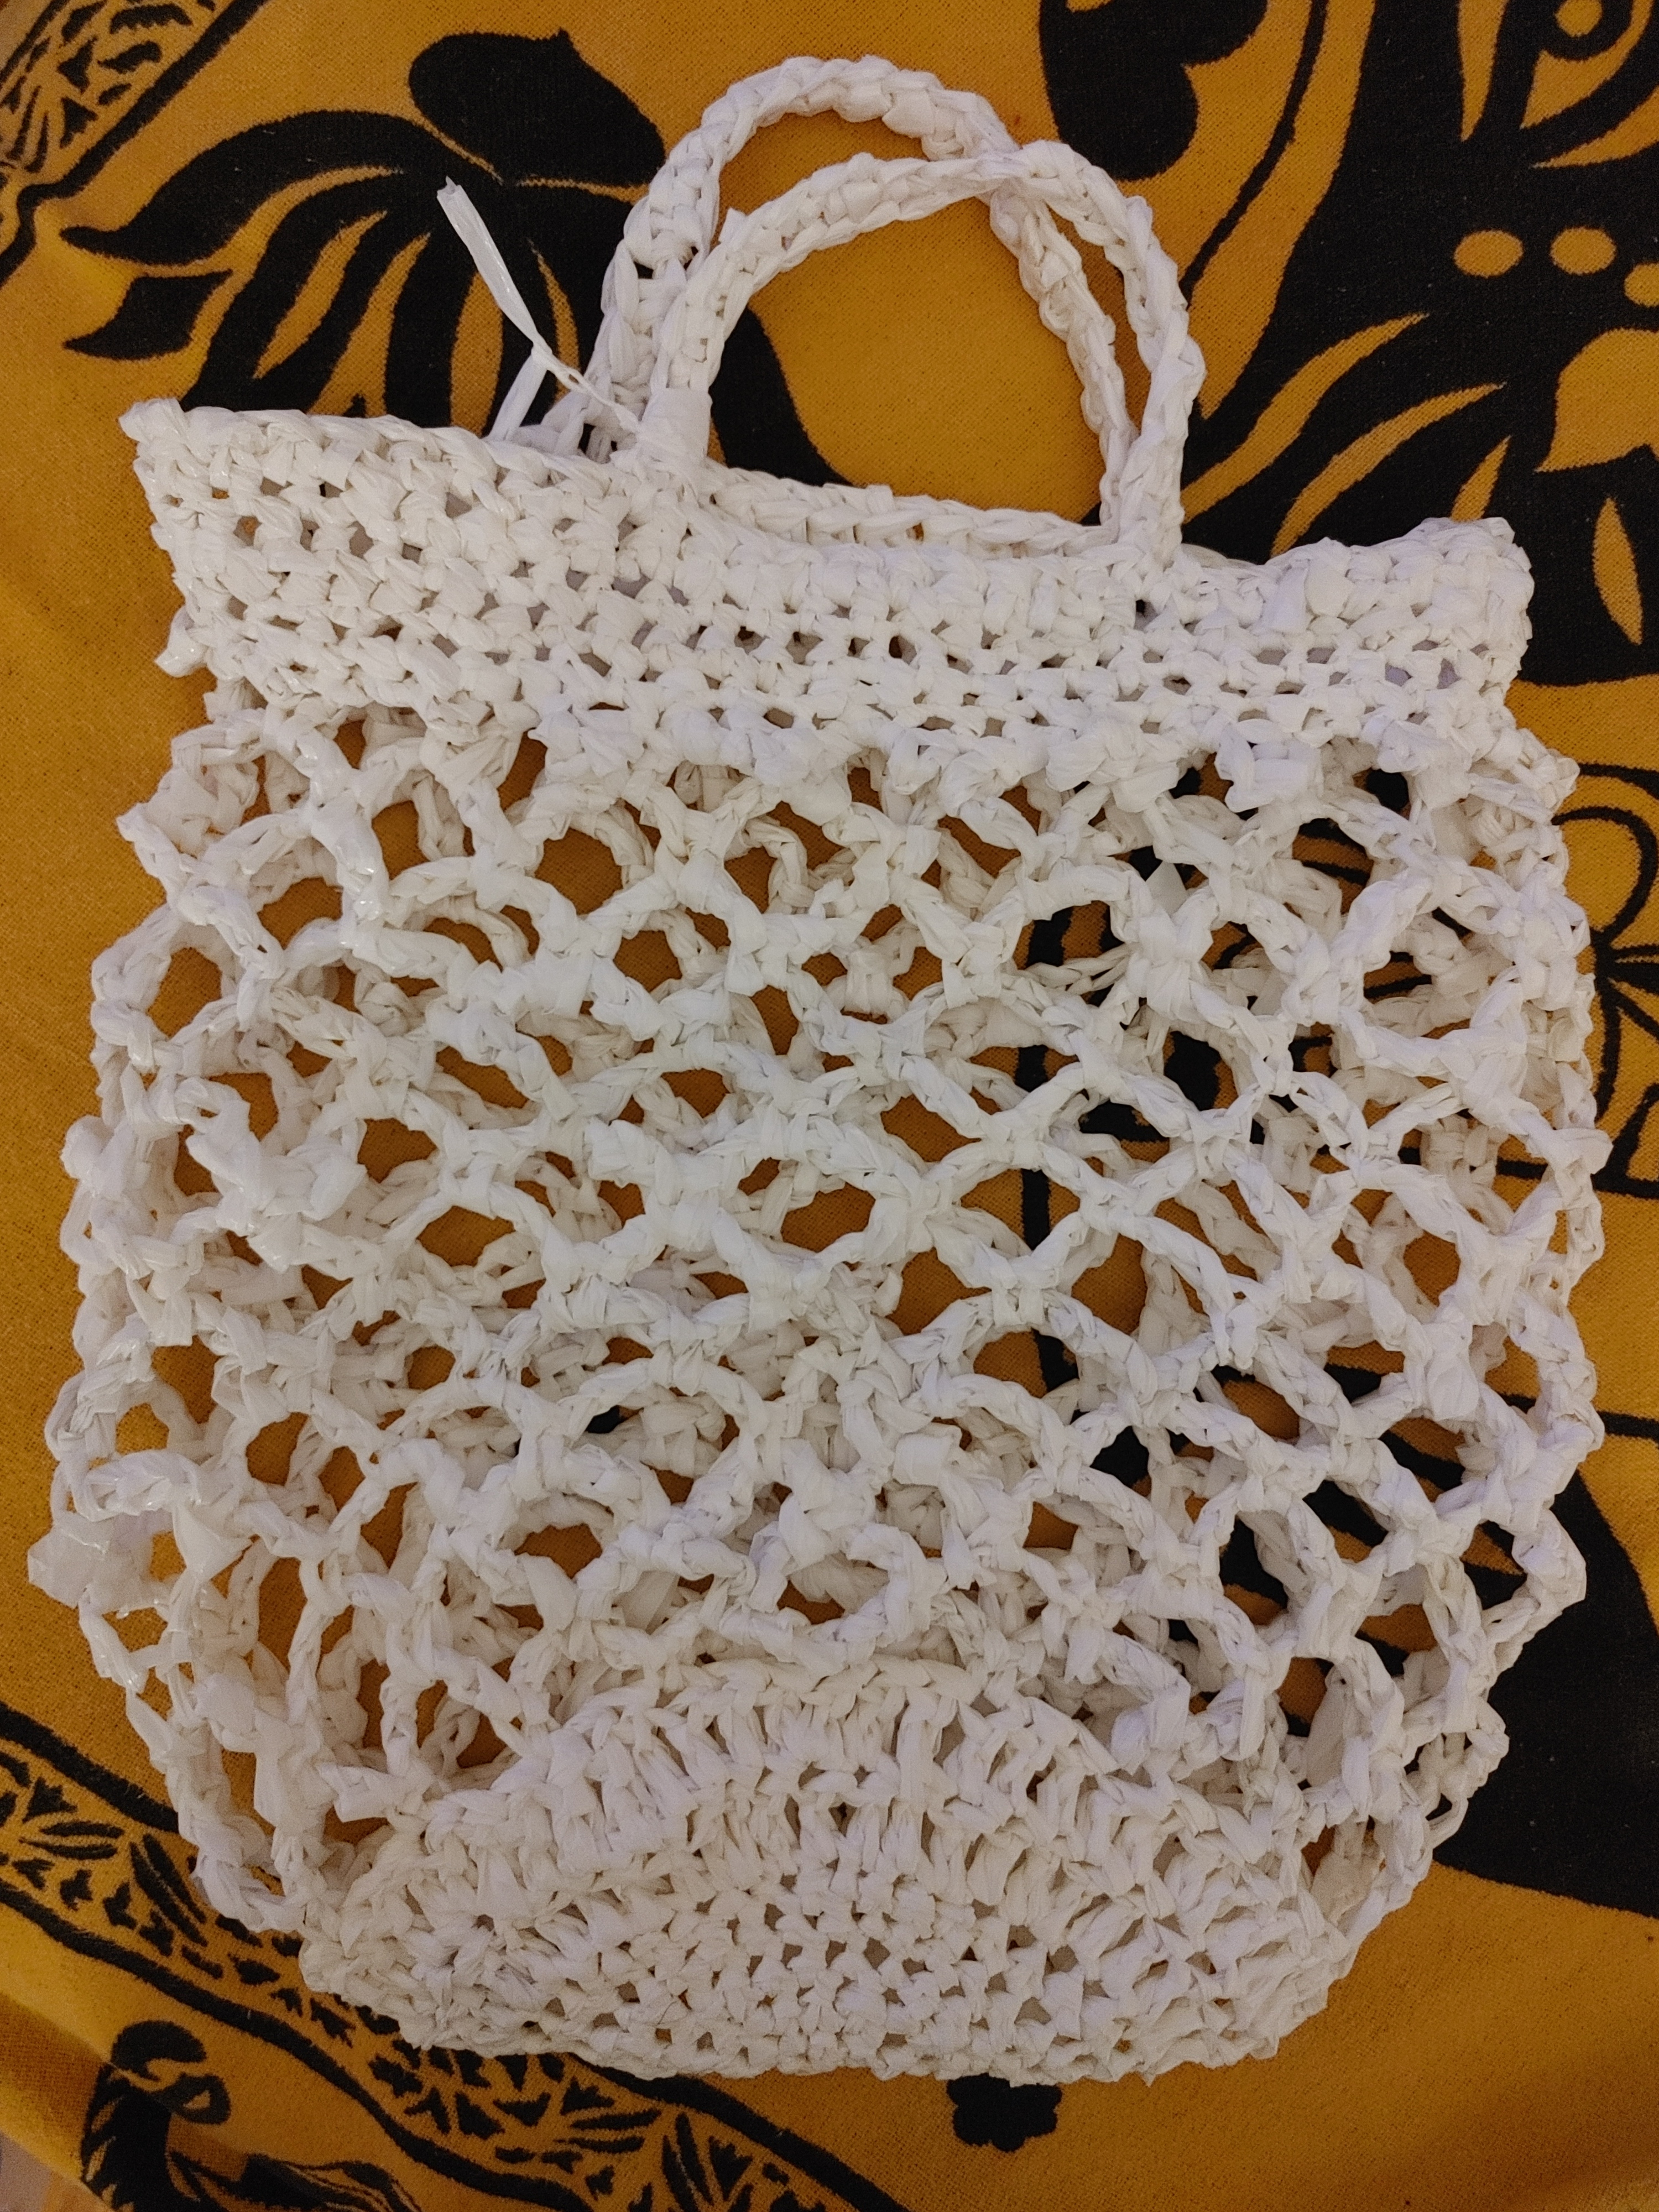
I saw a video about ten years ago on crocheting with plarn (plastic bag yarn) and I thought it was such a neat idea. There was just one problem: I didn't know how to crochet. So, I started hoarding all my plastic bags (even more than I already was) thinking, "Oh, I'll learn how to crochet one day!" I finally learned to crochet a few weeks ago and now I'm working my way through my massive bag stash. I left the tail ends on and tried to tie them into decorations so I wouldn't waste any of the plastic.
I am way too excited about my trash bag bag. :)
12
13
14
15
cross-posted from: https://slrpnk.net/post/9263490
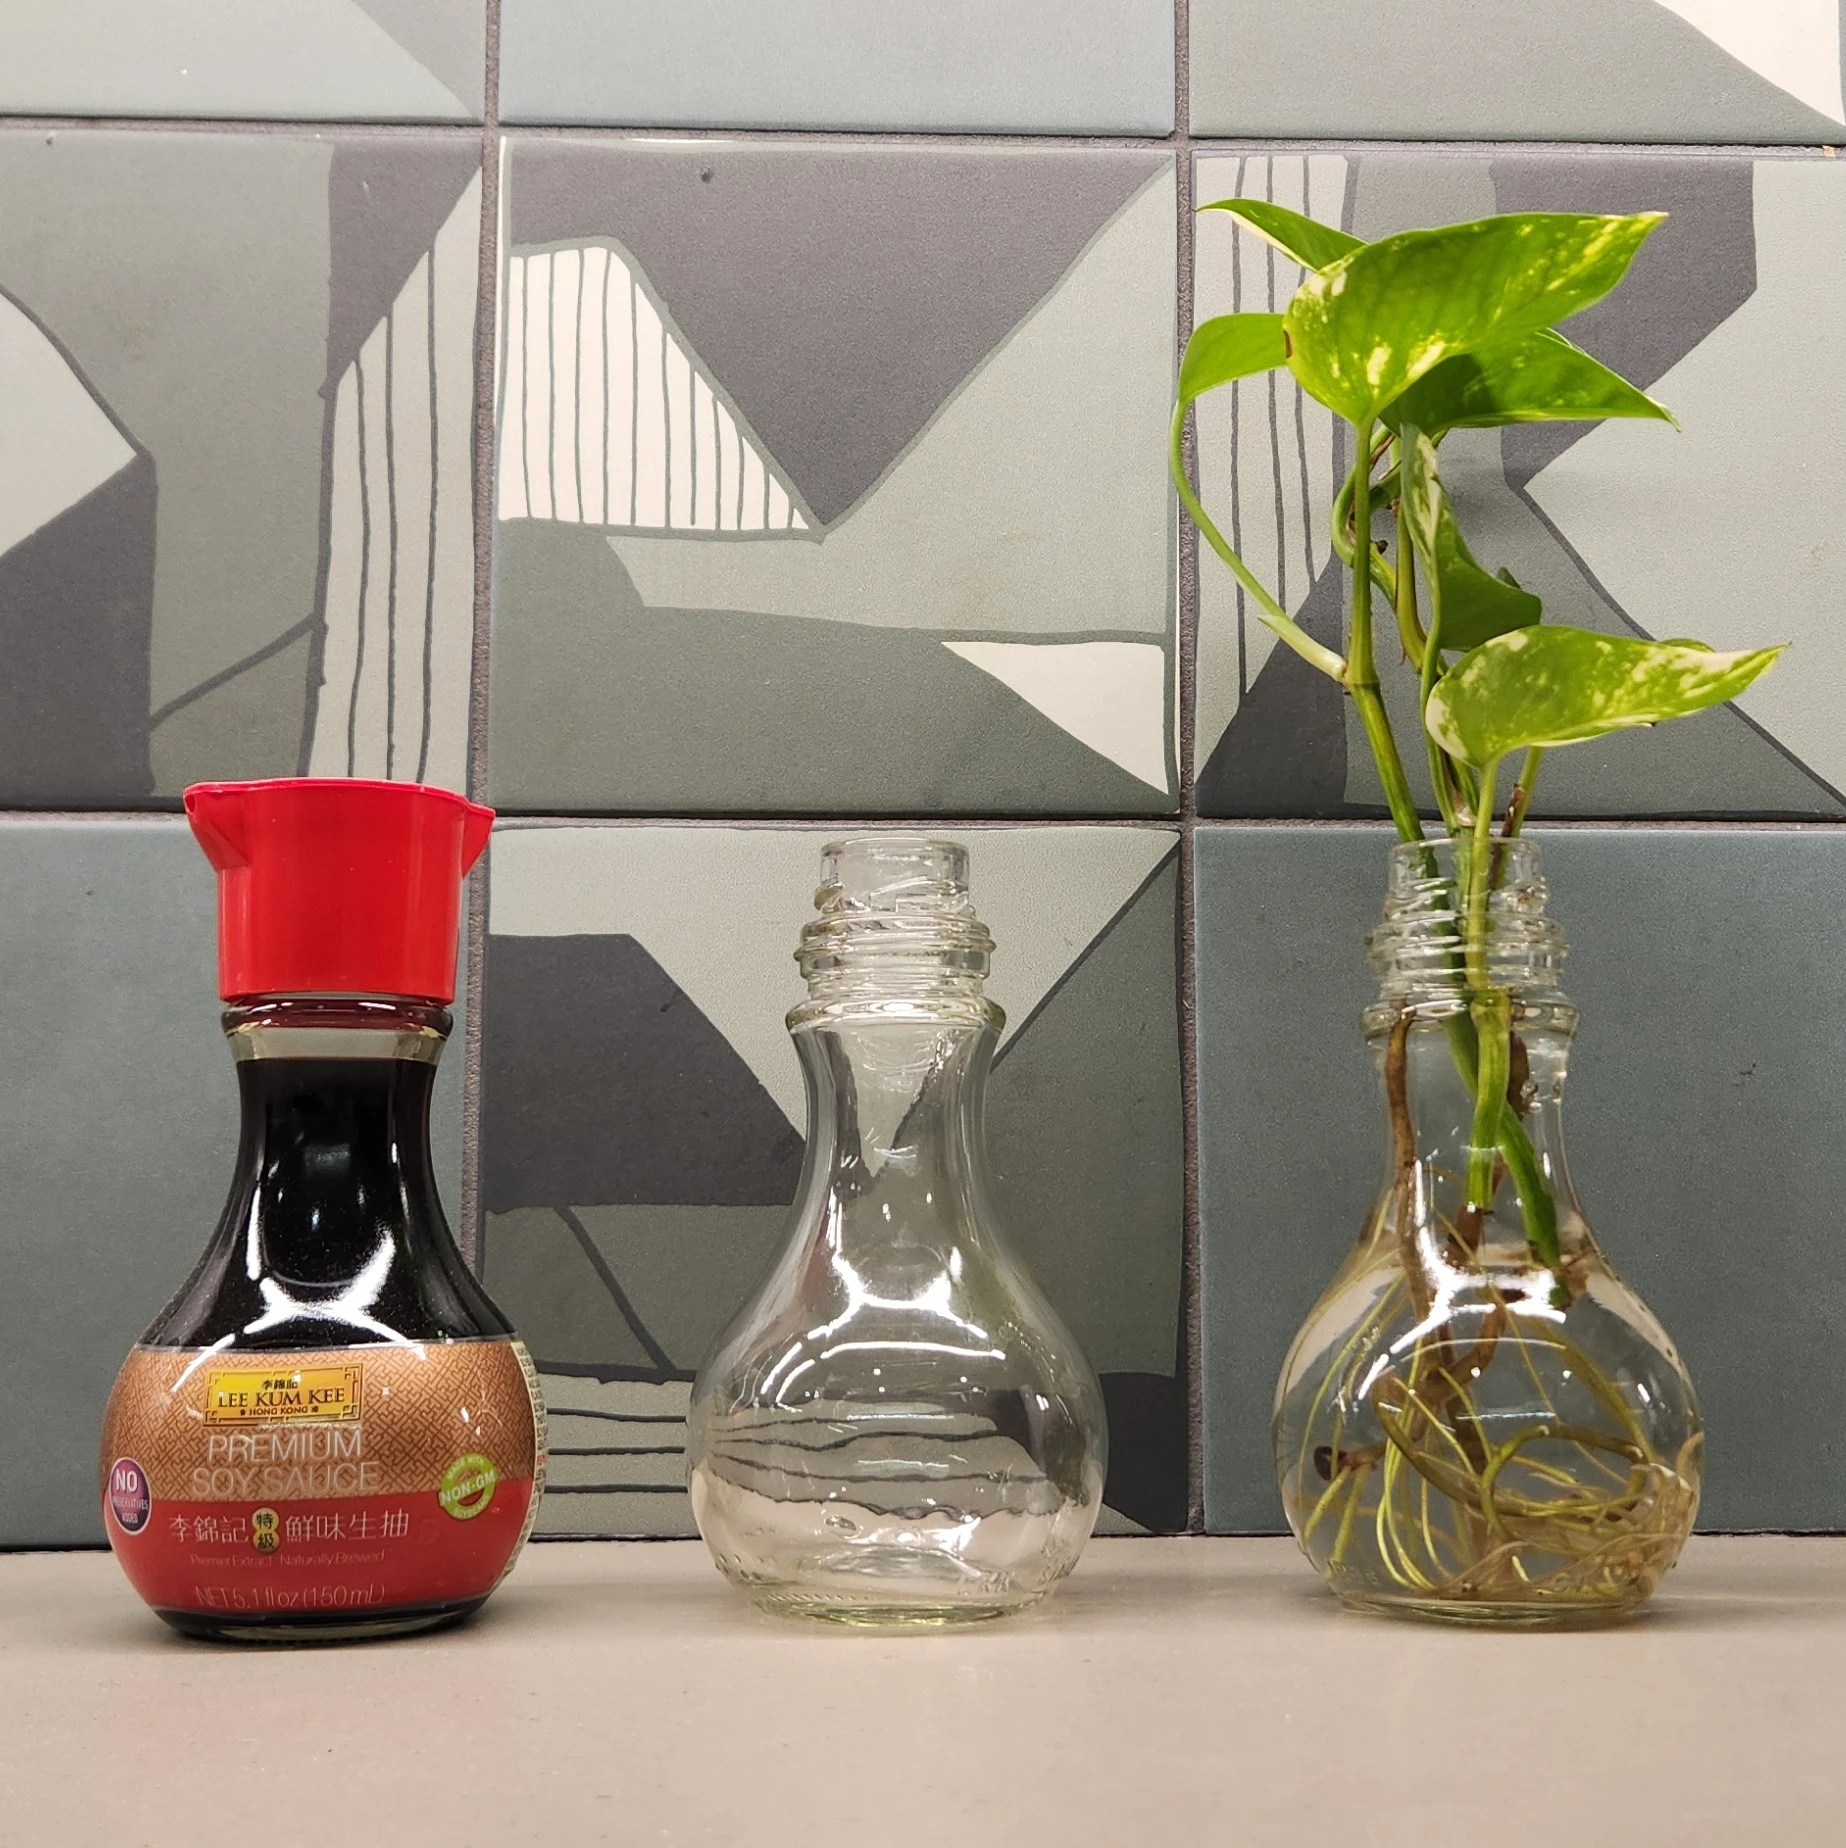
Pictured: three glass bottles in a row. On the left, it's a full bottle of soy sauce. In the middle, it's an empty bottle with the label removed. On the right, it's another empty bottle with a rooted pothos cutting in it.
My workplace provides snacks and some condiments for folks. When the soy sauce runs out, I do my best to snag the bottle. It looks like it ought to have a potion in it. A plant is the next best thing!
16
17
18
19
20
21
22
23
24
25
view more: next ›