3DPrinting
3DPrinting is a place where makers of all skill levels and walks of life can learn about and discuss 3D printing and development of 3D printed parts and devices.
The r/functionalprint community is now located at: or !functionalprint@fedia.io
There are CAD communities available at: !cad@lemmy.world or !freecad@lemmy.ml
Rules
-
No bigotry - including racism, sexism, ableism, homophobia, transphobia, or xenophobia. Code of Conduct.
-
Be respectful, especially when disagreeing. Everyone should feel welcome here.
-
No porn (NSFW prints are acceptable but must be marked NSFW)
-
No Ads / Spamming / Guerrilla Marketing
-
Do not create links to reddit
-
If you see an issue please flag it
-
No guns
-
No injury gore posts
If you need an easy way to host pictures, https://catbox.moe/ may be an option. Be ethical about what you post and donate if you are able or use this a lot. It is just an individual hosting content, not a company. The image embedding syntax for Lemmy is 
Moderation policy: Light, mostly invisible
view the rest of the comments

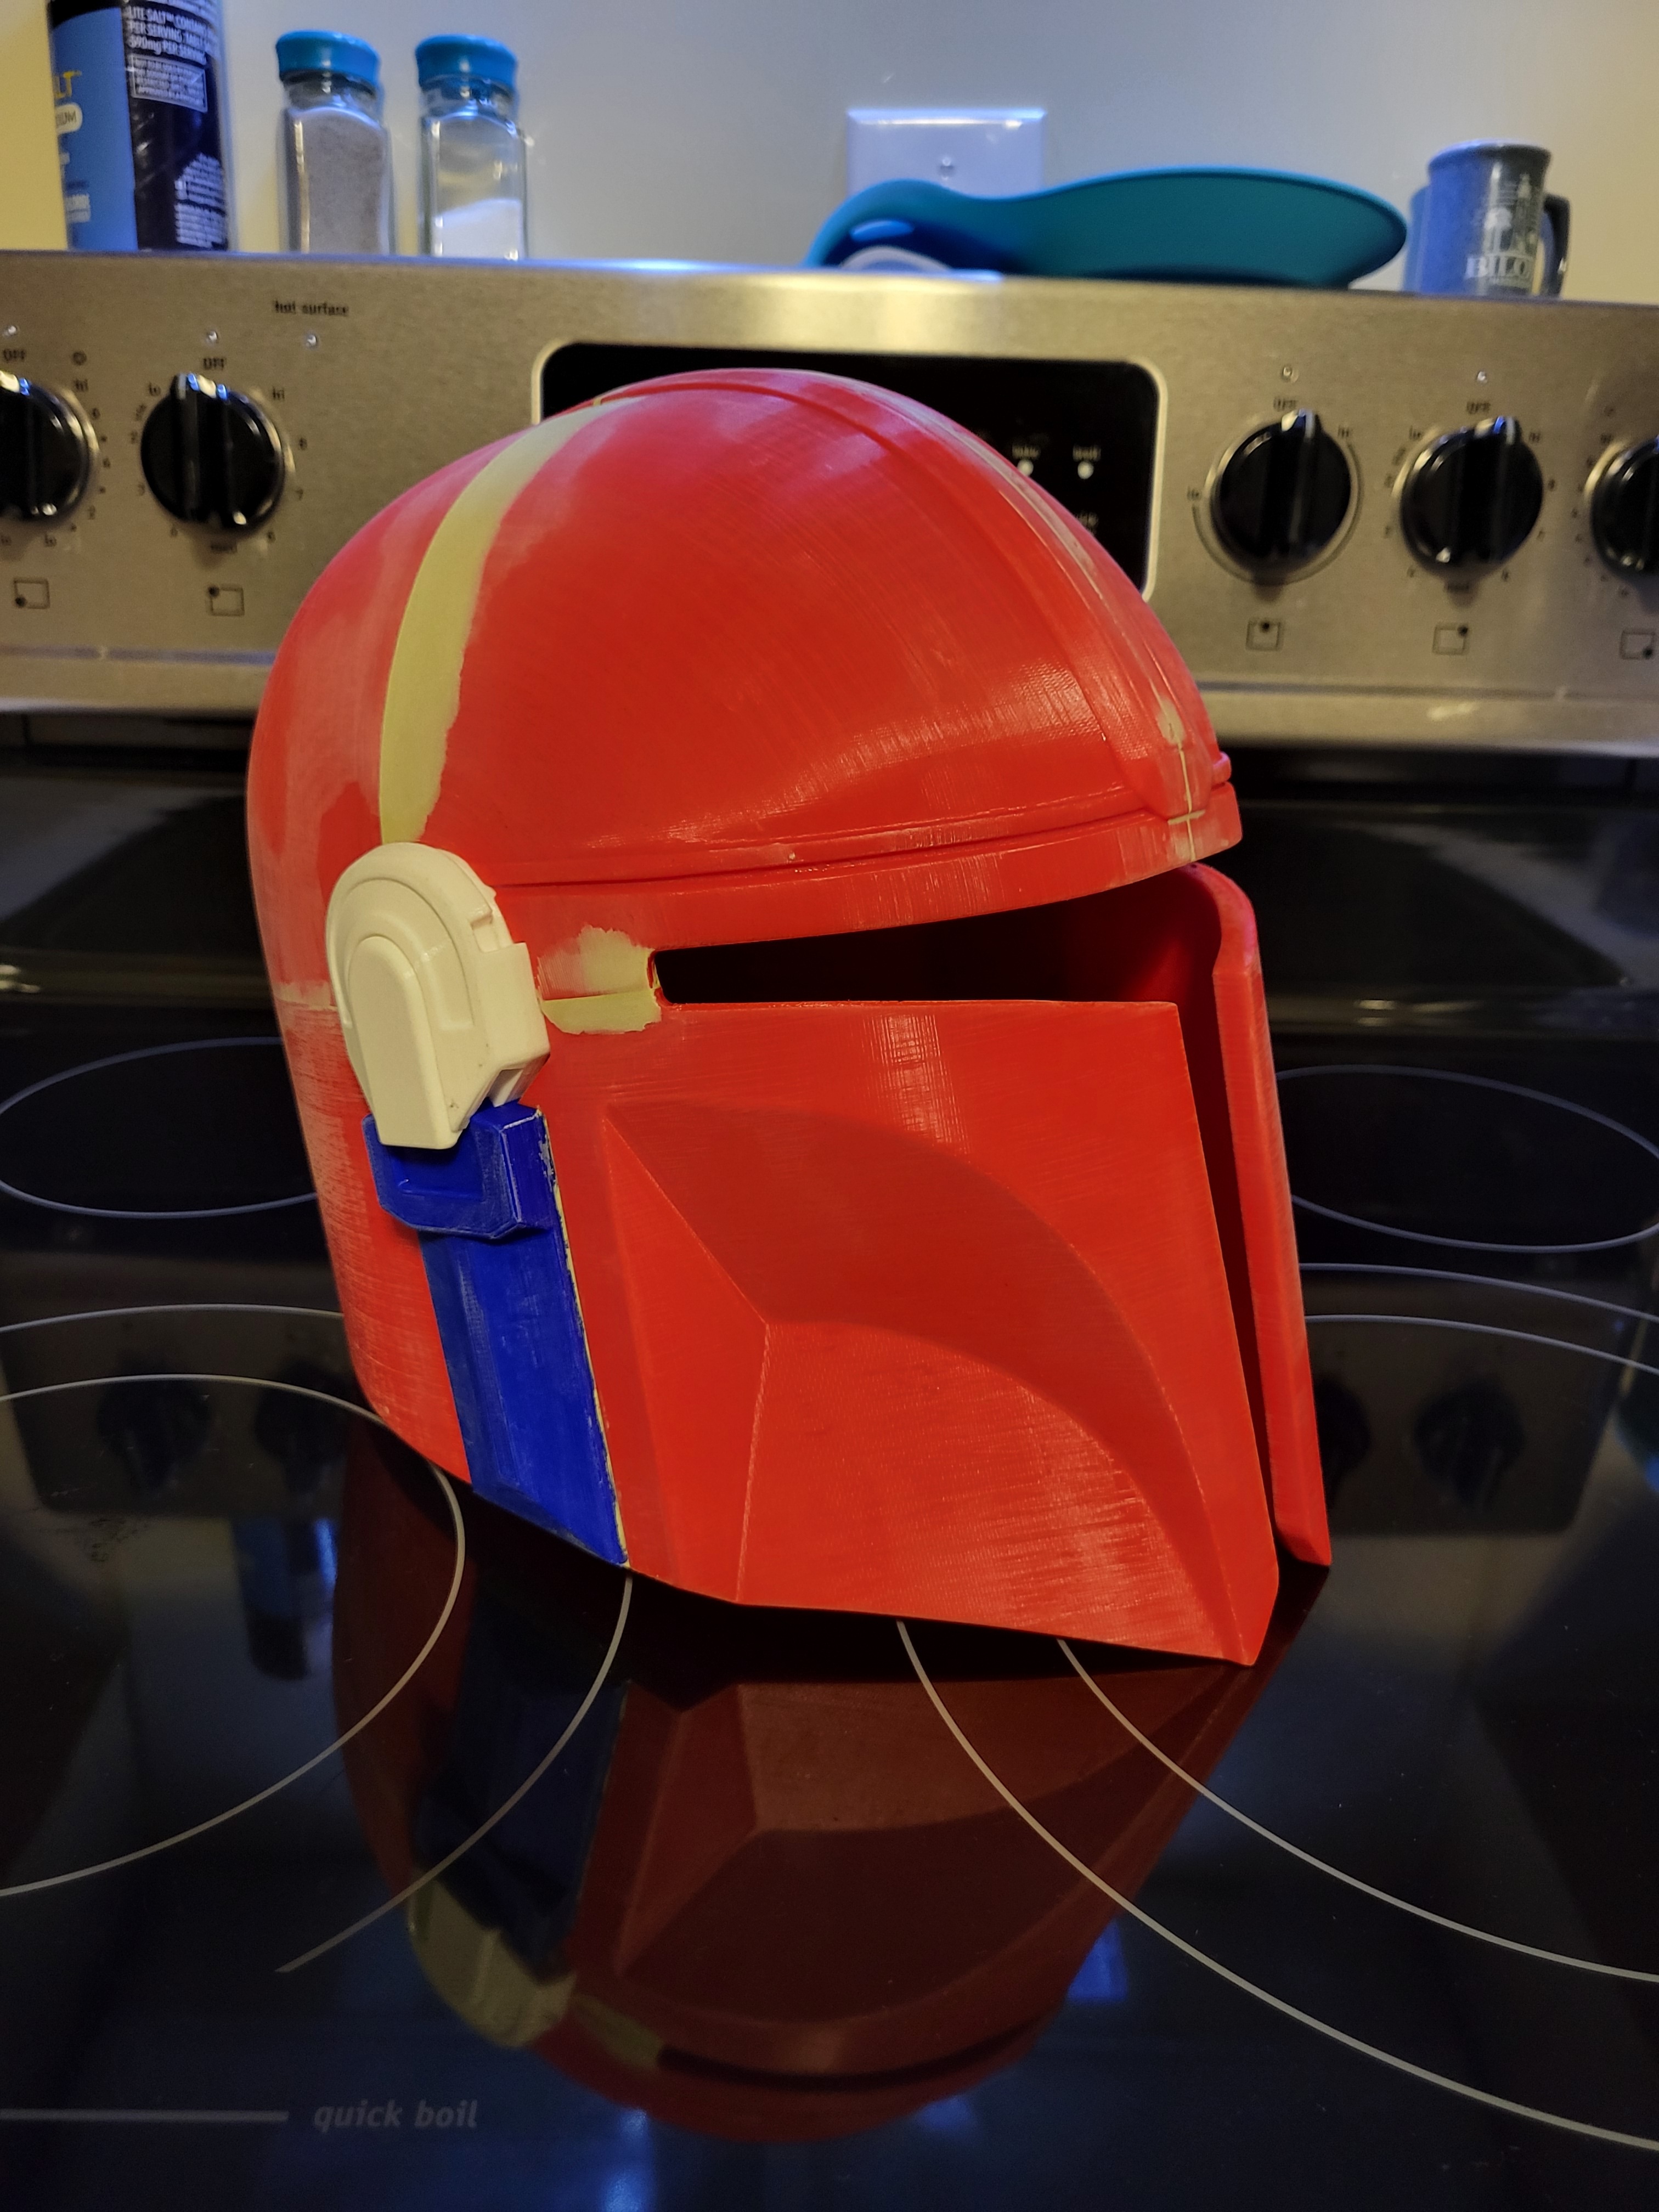
So, when I made my helmet, I used barges cement for anything that still needed to be flexible.
Unless you’re going to be constantly removing the padding, it can be removed by heating with a heat gun or hair dryer.
It’s also great for EVA foam since it’s flexible, and the way it’s applied is by painting a thin layer on both pieces and the pressing them together after it’s dried for a few minutes (there’s a window where it’s dry but adheres to itself.) this means you can make a much neater join than CA (though CA is stronger if you need a rigid join… and can cure in seconds if you sprinkle baking soda or use accelerator.
If cosplay is something you want to get into, I’d recommend looking at EVA foam- kids can work with it if they can handle a hobby knife (or you can cut it out for them,) and it’s fairly forgiving. (Kids love it. Plenty of YT tips and tricks too
The most important advice is take your time, finishing touches are the last 5% that put it over the top. Filler primer is a godsend for smoothing and shaping though you may need to mask off fine detail- or clean it up with a toothpick run over the creases.
Between that, and masking things off are most of the work, so take you’re time. You can speed up paint drying with a hair dryer or heat gun (on low. Heat guns can melt PLA in a hurry,)- from over night to a few minutes.
Taking the mask off, you can run a craft knife or something over the edge to get a clean lift- more useful with enamel, lacquer or latex.
I’m better at the engineering and mechanical aspects- I once had an art teacher fail me in the fifth grade … in their defense that clay mask was truly awful. So all of this is stuff I’ve learned from others who are far better at it than I.
And remember… have fun! Especially with the kids.